
Basic Techniques (Con’t)
My basic method of removing parts from the ‘backing sheet’ is outlined below. However, there are actually some things you want to do prior to removing the parts, if you follow best practices. These would include:
- Washing of the parts (just as with an injection molded kit) with a degreasing detergent (dishwashing soap) to remove any surface contaminants.
- Taking off needed bulkhead cross-sections pre-removal to capture the “true” part sections while the pieces are still constrained by the backing sheet (see below discussion.)
- Surveying the parts for defects such as sunken surfaces, poorly molded edges and asymmetry (again, while the parts are in their ‘true’ shape.) I usually will mark any problems areas directly on the part with a pencil.
- Check clear parts – This involves checking the general fit agreement between the clear pieces and their mating parts. This is especially important with some ‘classic format’ vac kits that may have been mastered with less than perfect precision. Obviously, the time to find out problems with clear parts is NOT after the fuselage has been assembled, detailed, painted, etc. Often, such problems can be best identified prior to removing the ‘opaque’ parts from the backing sheet.
In short, do the usual preliminary work applicable to any model project. But, back to:
Removing the Parts: Parts removal begins by outlining the part on the sheet with a fine tipped, (my preference) Sharpie brand permanent marker. 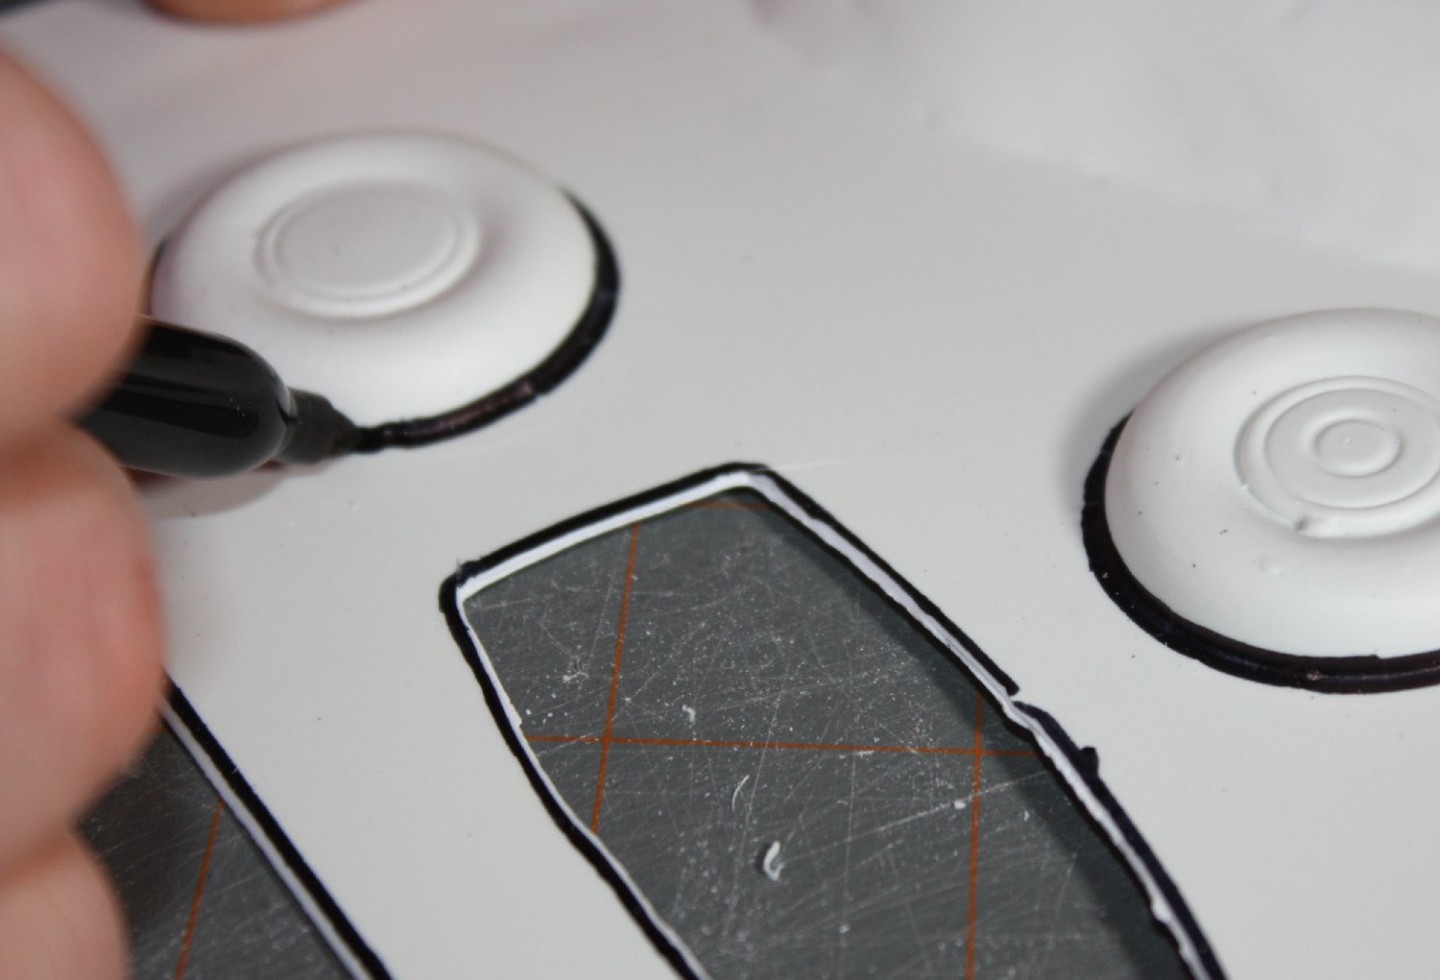 Hold the marker at 45 degrees so the ink gets on both the part and the backing sheet. This ink mark will serve to gauge the ‘as molded’ edge to the part. Avoid blunting the marker’s point, so the ink gets fully into the corner between the part & the sheet. It is important that the mark doesn’t have any gaps.
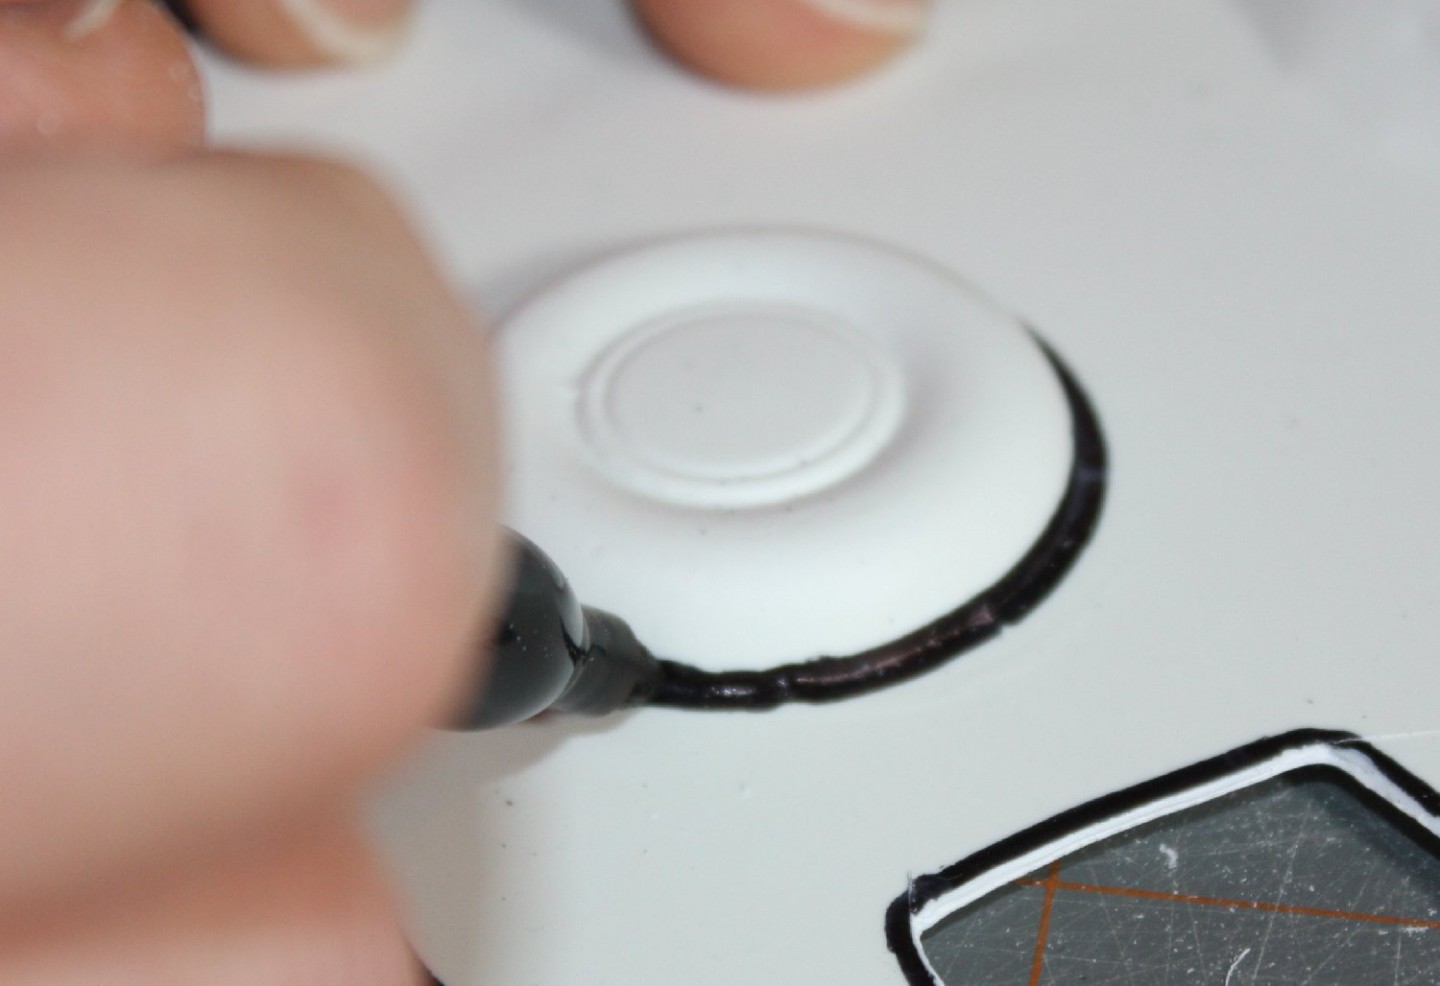
(One alternative I’ve seen others use to establish the parts ‘trim line’ is to give the entire sheet a coat of primer. This has some advantages for the parts, but as I like to use the waste backing sheet as raw scratch-building material, the primer would interfere with gluing, so I don’t use this method.)
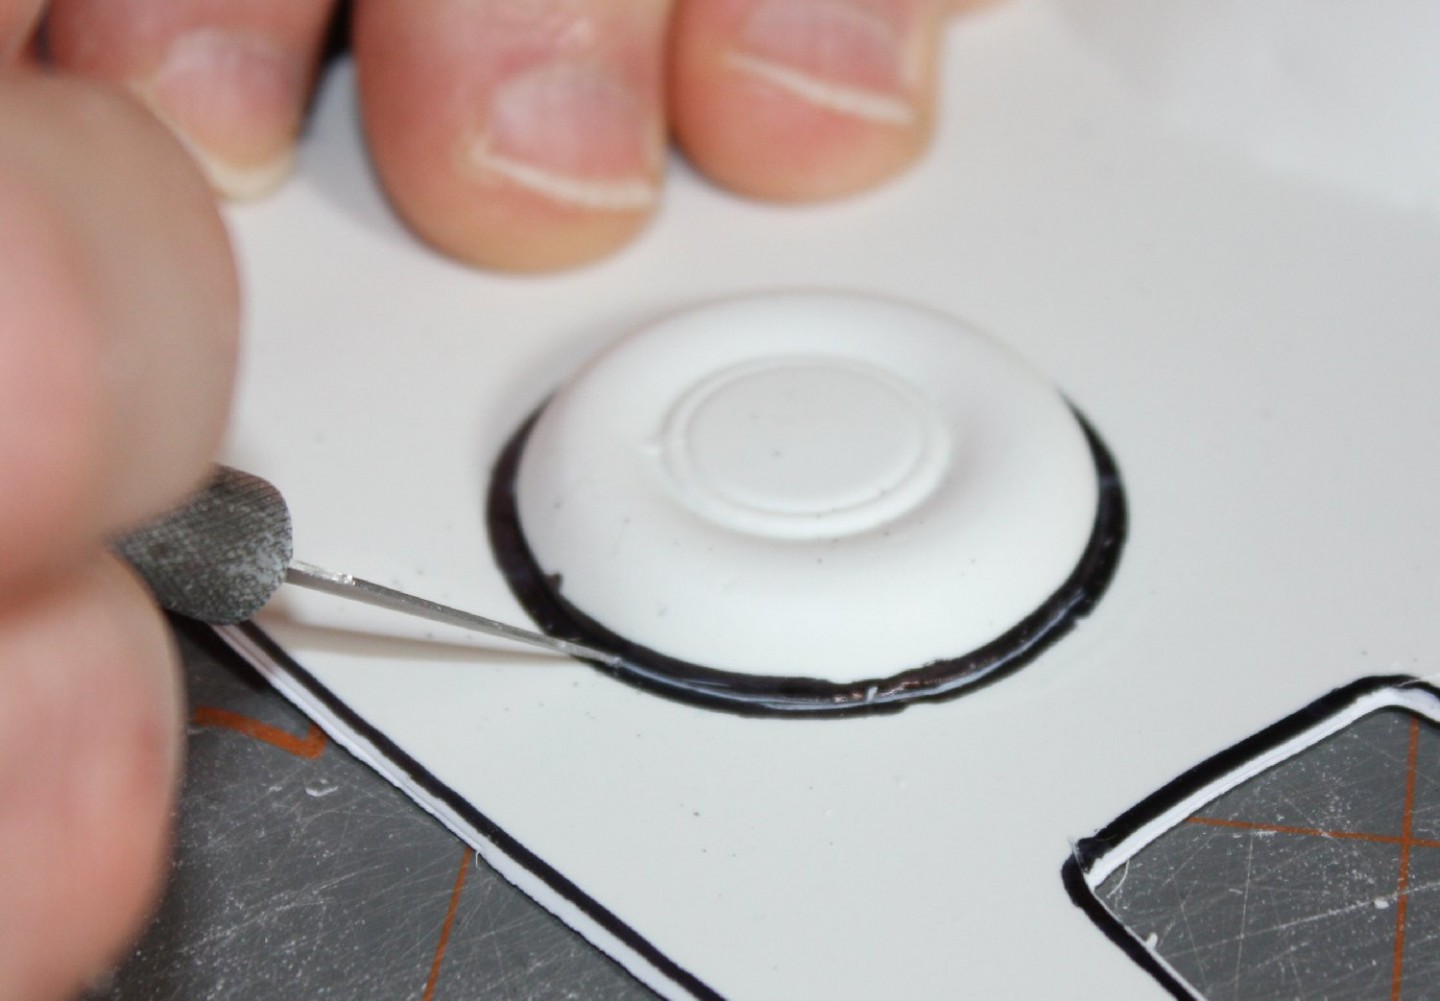
Next, using an appropriate tool (#11 Xacto blade, engraving tool, etc.), score around the edge of the part where it meets the backing sheet. Score at a 45 degree angle, 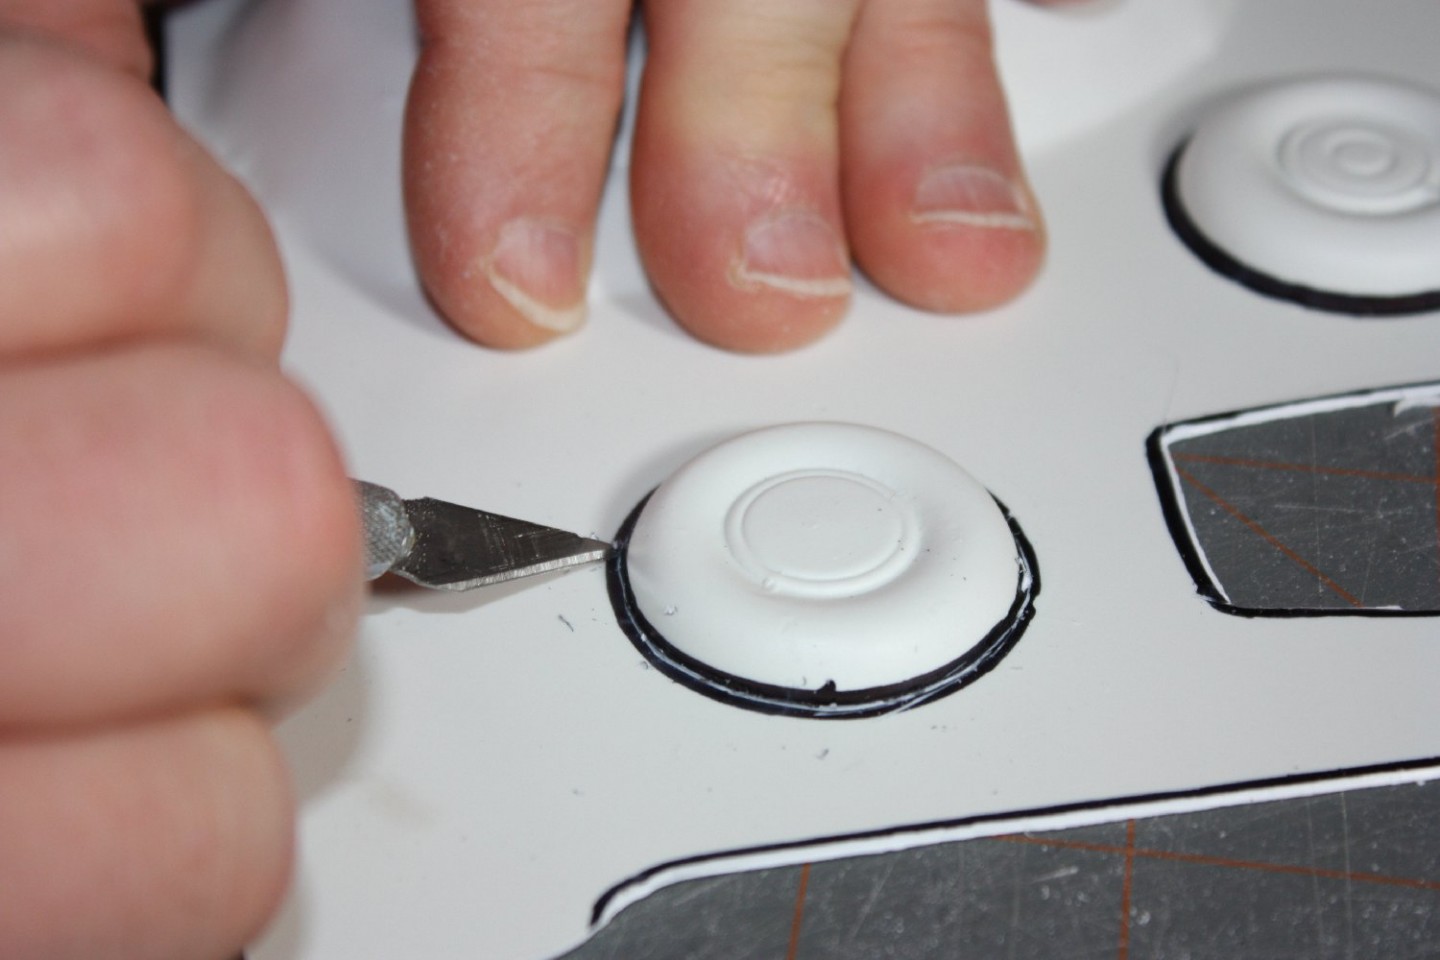 taking care to score lightly using multiple, short passes so to follow the part edge precisely. Do not attempt to cut through the backing sheet – that is not the goal. However, tight corners or small radius curves may need deeper scoring to prevent “tearing”. Do not leave a border of excess backing sheet – that just makes for more work.
 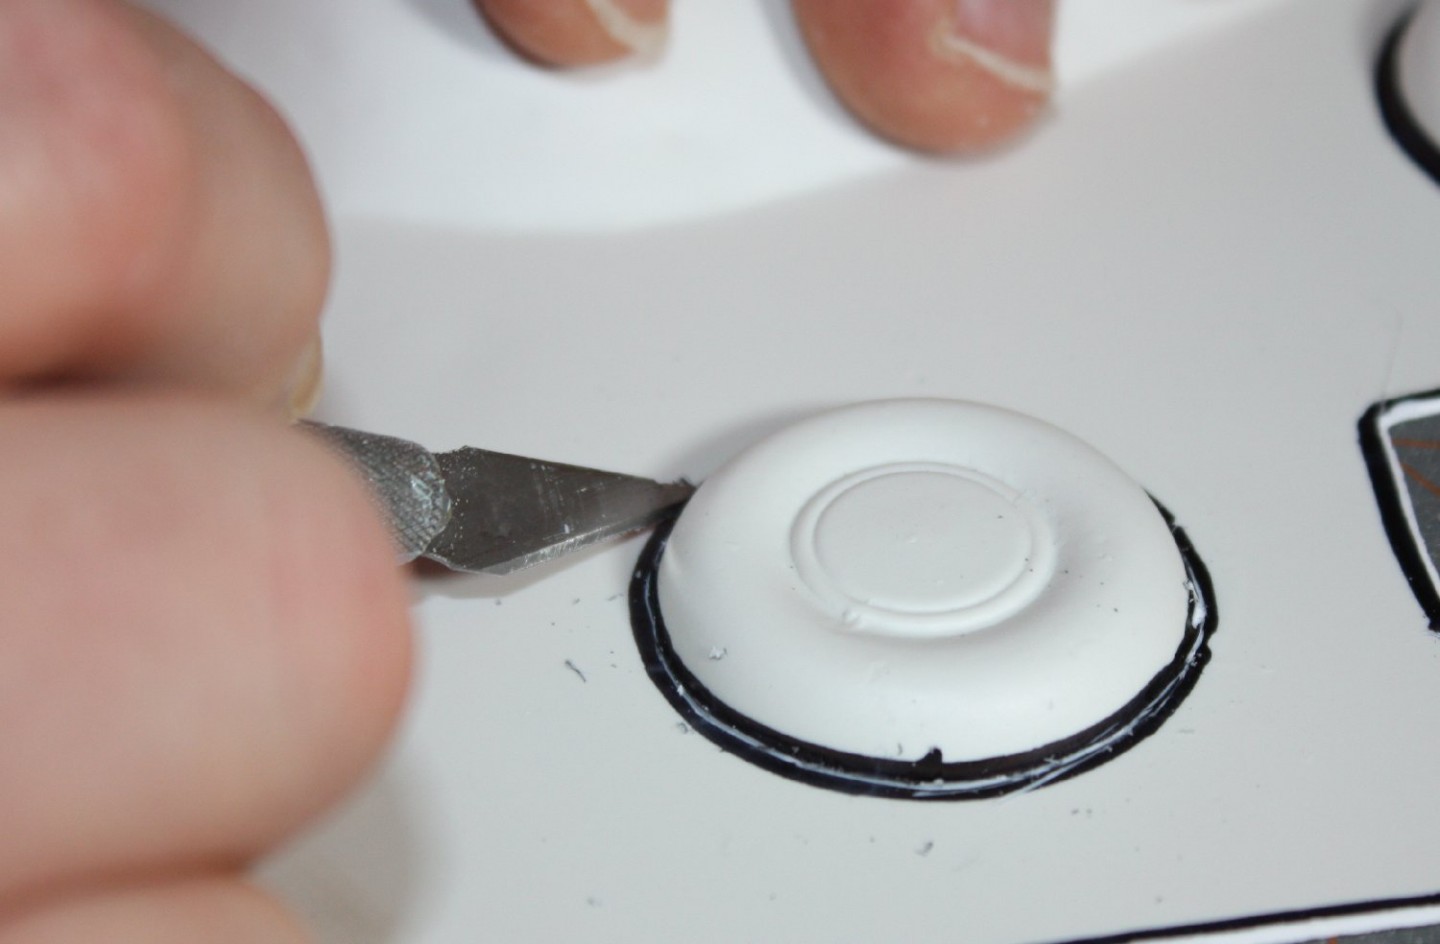 For areas that will eventually be removed such as cut-outs for wings or cockpit openings, leave the molded-in excess to help maintain the part’s rigidity during removal & cleanup.
Although practice will dictate just how much scoring is required, once done, the part is flexed “against the score” (pushed from the side opposite the score which opens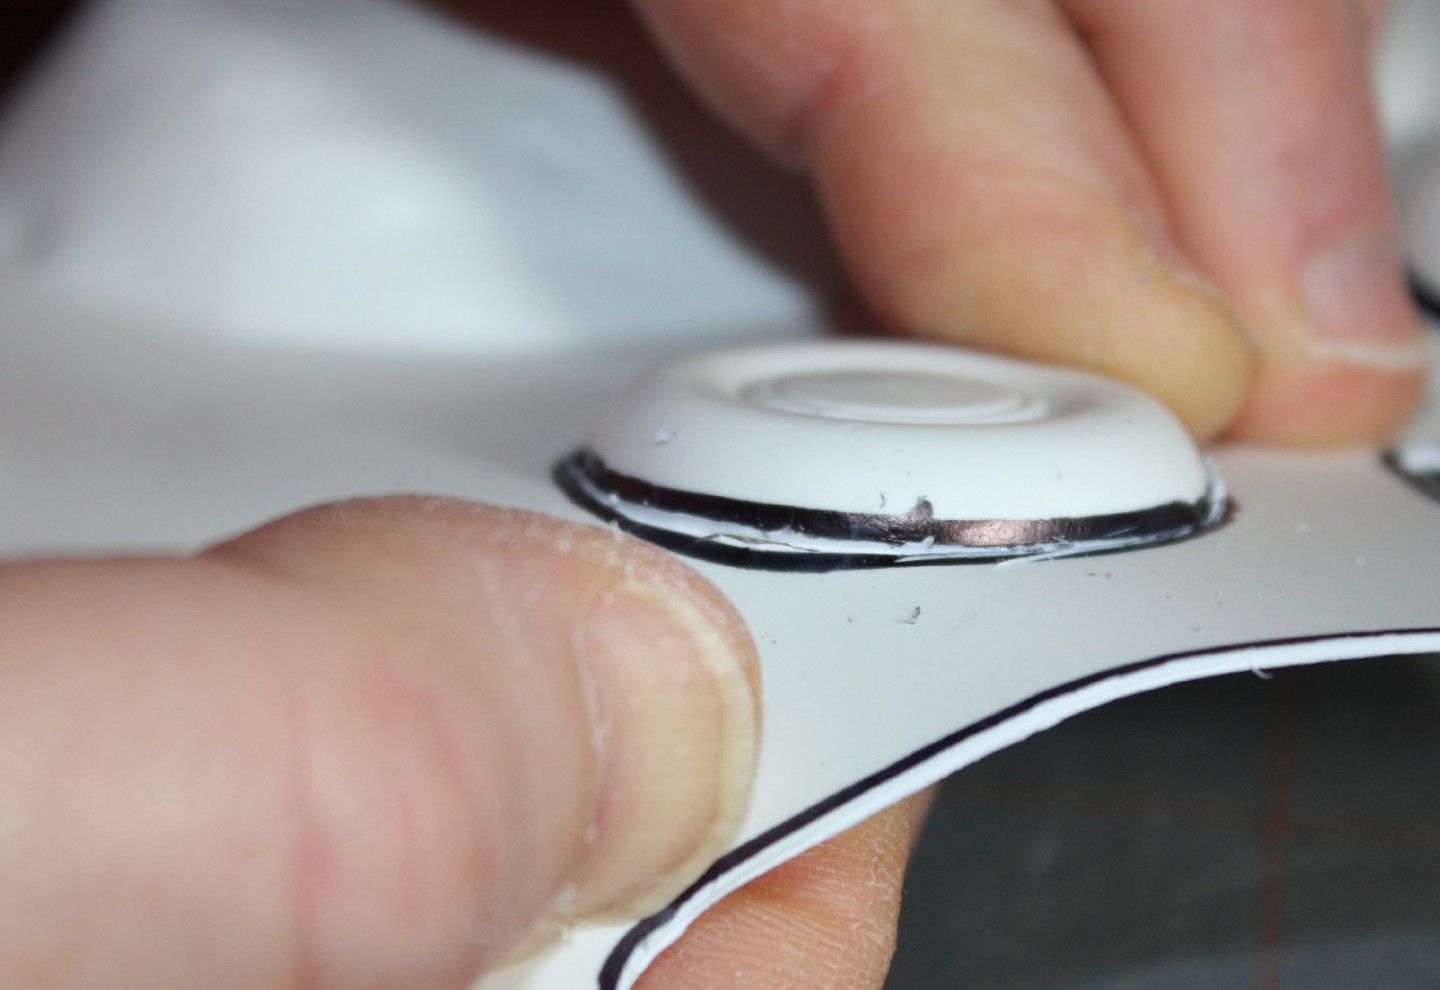 the scored groove wider & stresses the plastic so it fails, or ‘snaps’, in line with the groove.) Depending on the shape, the score may need to be worked back and forth; it shouldn’t take much effort, so if it does, additional scoring is needed.
 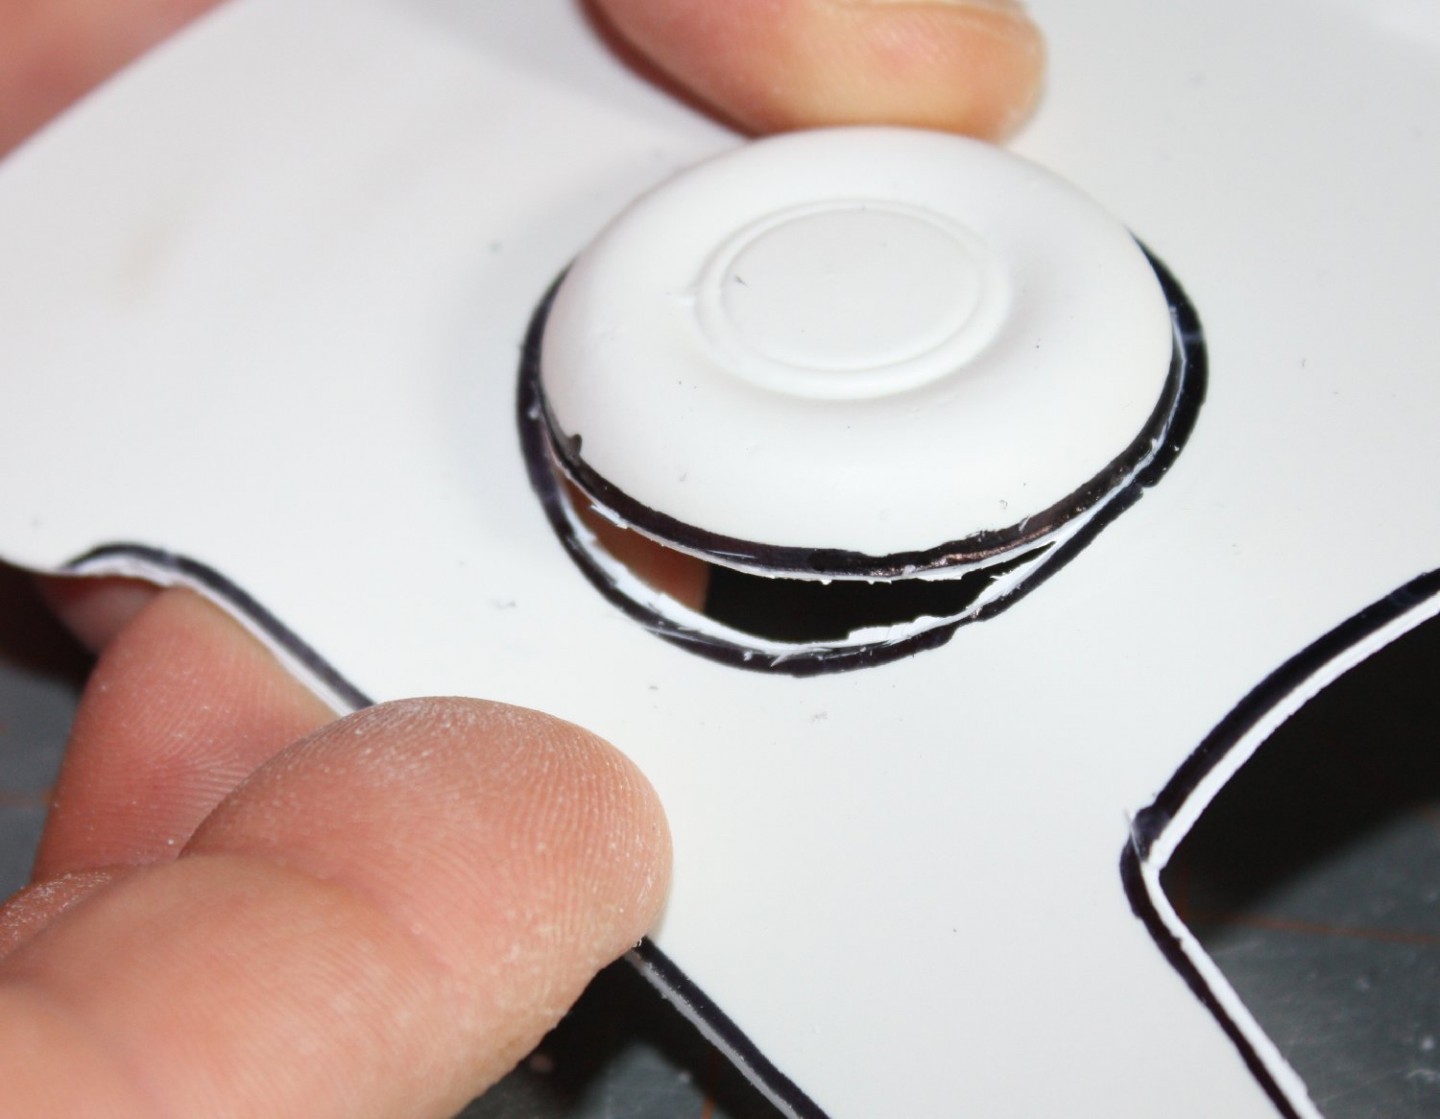 Take special care when dealing with ‘inside corners’ to prevent tearing the break across the part itself. I usually attempt to cut completely through tight spots just to keep the break along the desired ‘path’.
Once the parts are free of the backing sheet, I usually do a rough ‘dry fit’ of adjoining pieces to get a feel for how things go together. 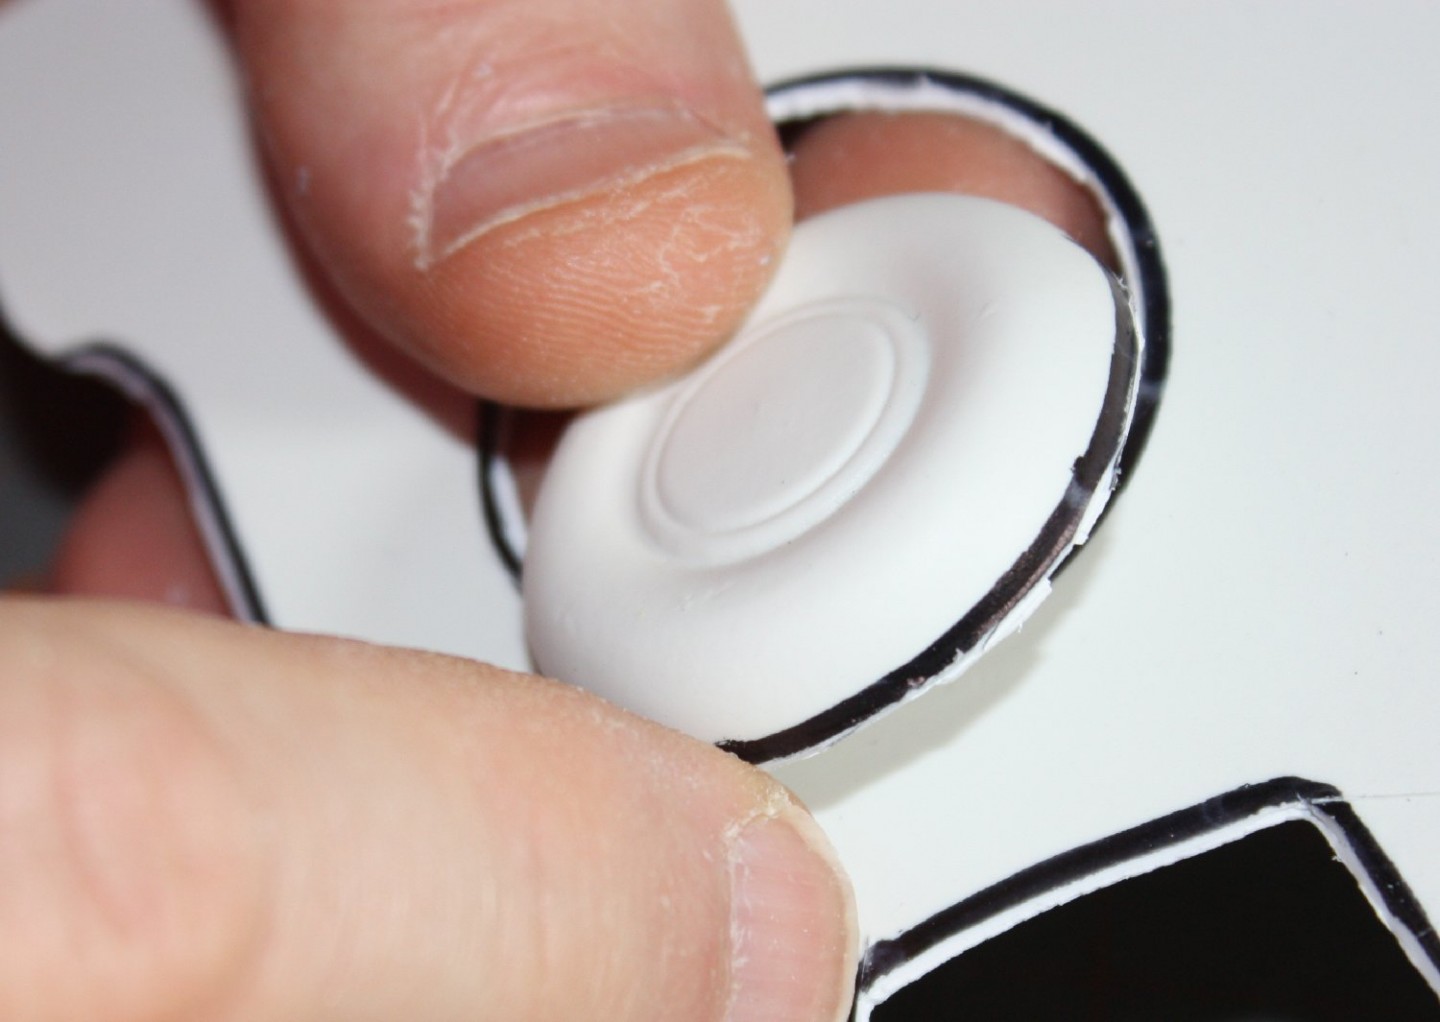 (It is sometimes true of ‘male molded’ components that the backing sheet thickness is required for a proper fit, unless the masters were properly made with an allowance for the sheet thickness.) This is where having the clear parts to validate the fit of the matching parts becomes important.
Typically, however, the tiny bit of remaining backing sheet material must be removed for proper fit. 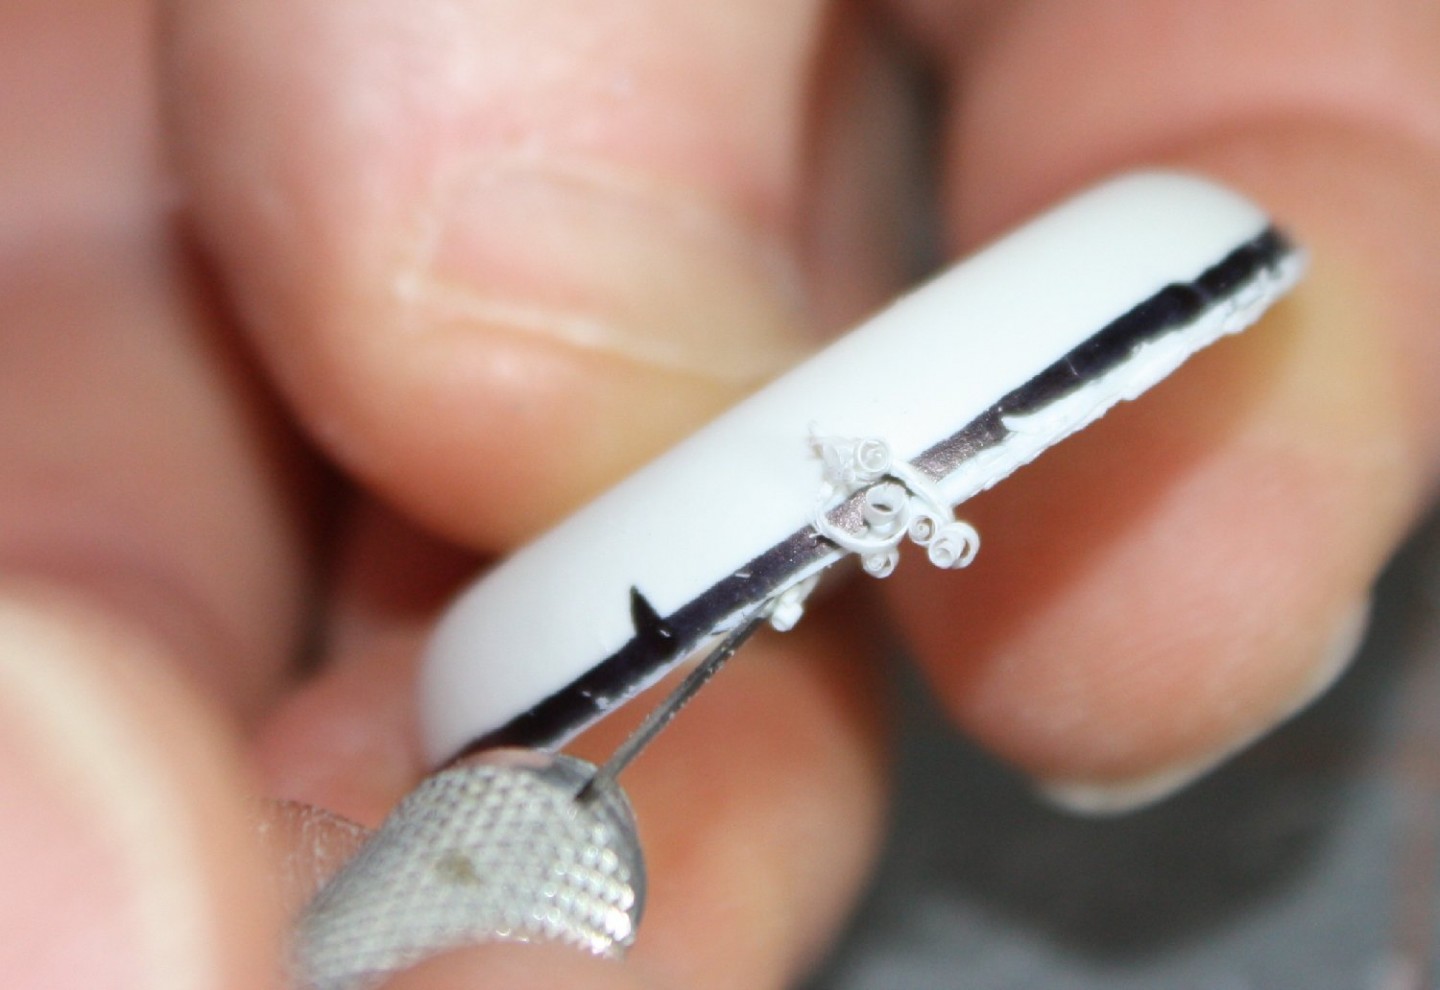 The plastic to be removed is visible because the ink line marks the edge of the cut, giving a trim line. I start with a #10 Xacto blade (is is more rigid and has a better blade angle for this purpose), or sometimes a single sided razor blade, to shave the excess.
 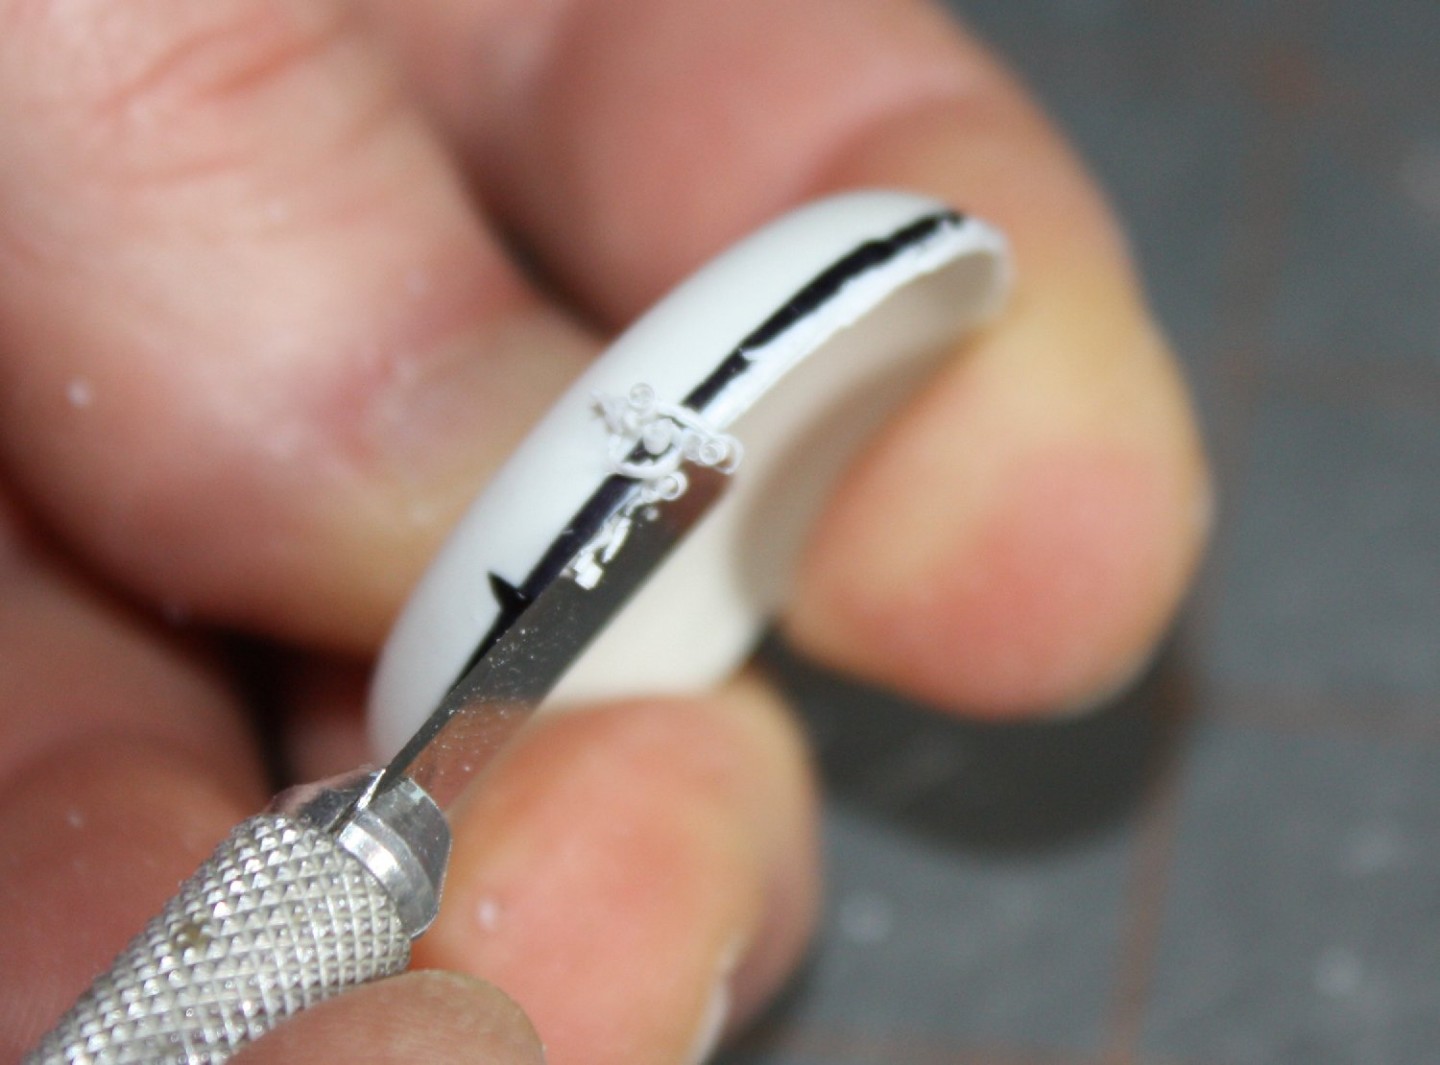 Using the blade like a tiny plane, I carve off most of the ‘wedge’, taking care to not allow the blade to wander past the ink mark and into the part itself (or my fingers!) My goal is quickly remove most of the excess and roughly set a perpendicular edge to the part.
 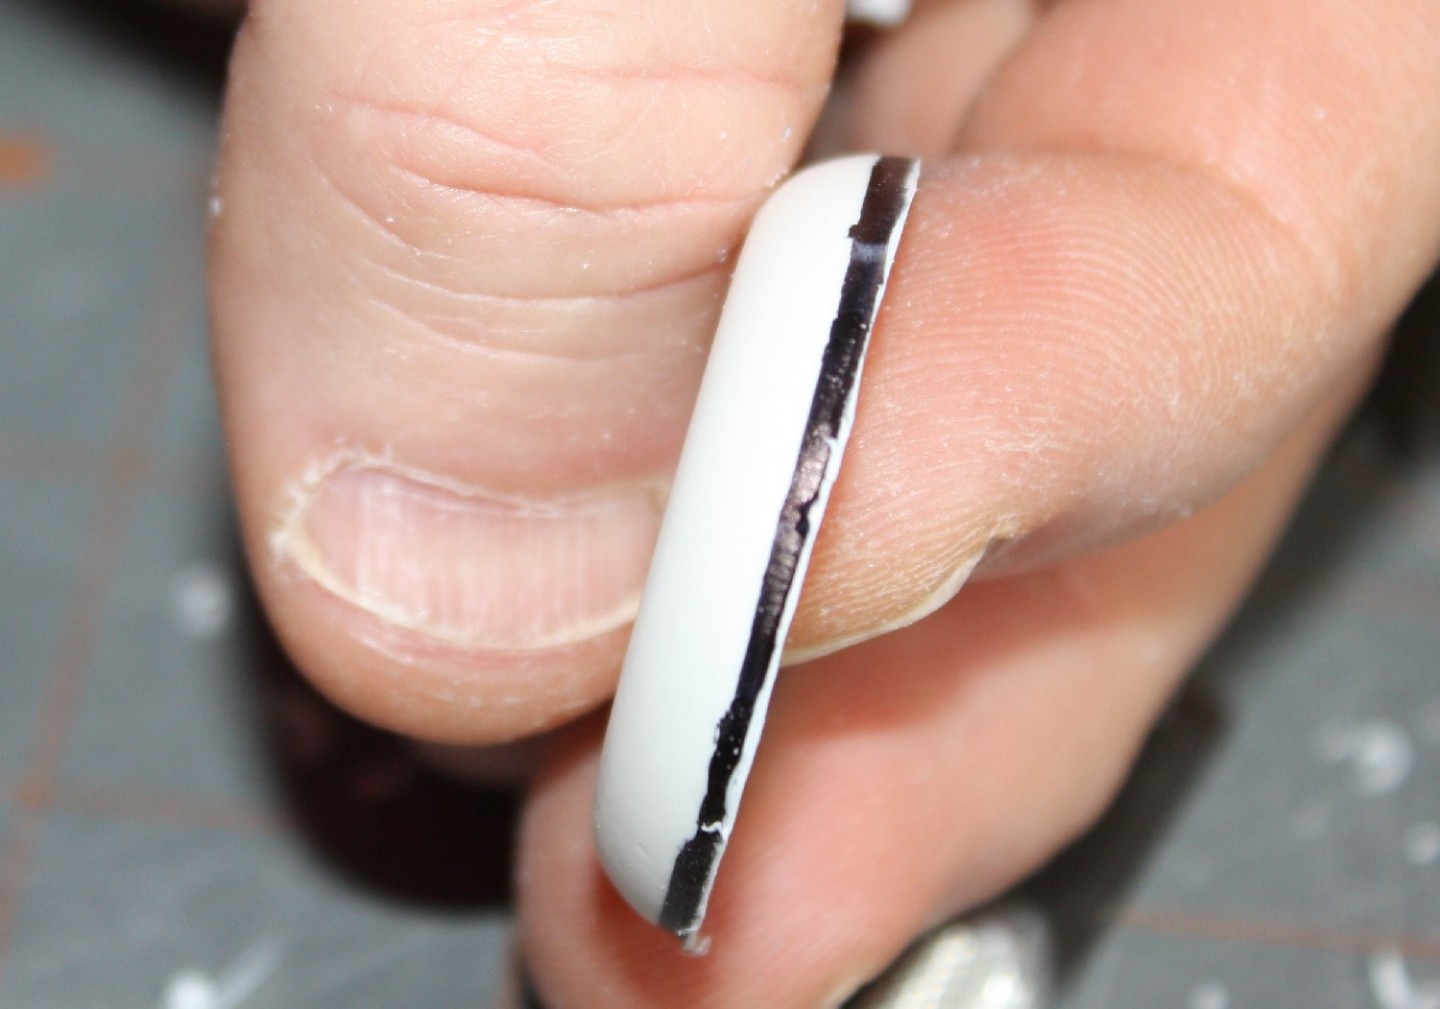 Just take care when trimming to keep your fingers clear & the blade ‘constrained’ (i.e., place your fingers so the blade is braced & cannot move or ‘jump’ very far) to avoid cutting yourself. Granted, this takes a bit of practice!
Once the ‘shaving’ is done, I finish up with a sanding stick or block. My sanding tool has to have a flat, rigid backing to achieve the desired flat edge – so no foam sanding sticks or pads (they can deform.) The sanding direction depends on the part and how much needs to be removed.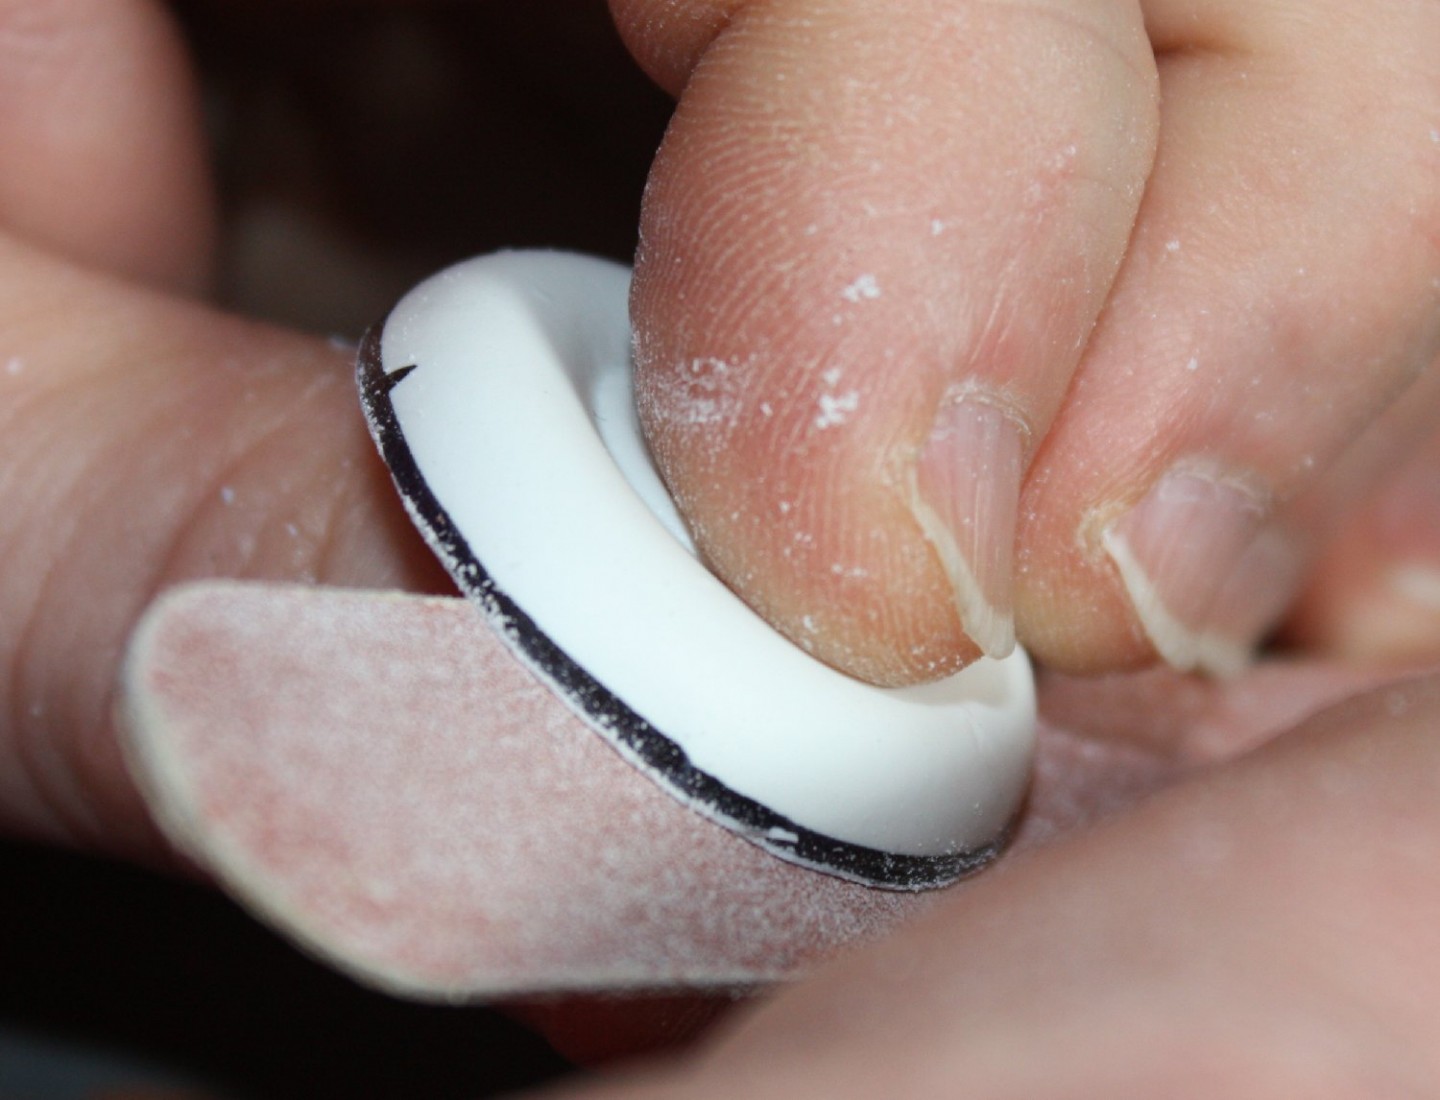 Sanding across the edge will remove material faster but with less precision than sanding along the edge’s axis. Since the part is thin and can flex easily from side to side, cross-cut sanding is used initially with a finish sanding using long strokes along the edge to smooth any unevenness. (Sighting along the edge helps to keep things straight.) As always, avoid going past the ink mark. Be aware that the dry ink may actually ‘flake off’ as sanding progresses, so take care to stop once the marked edge is just about reached.
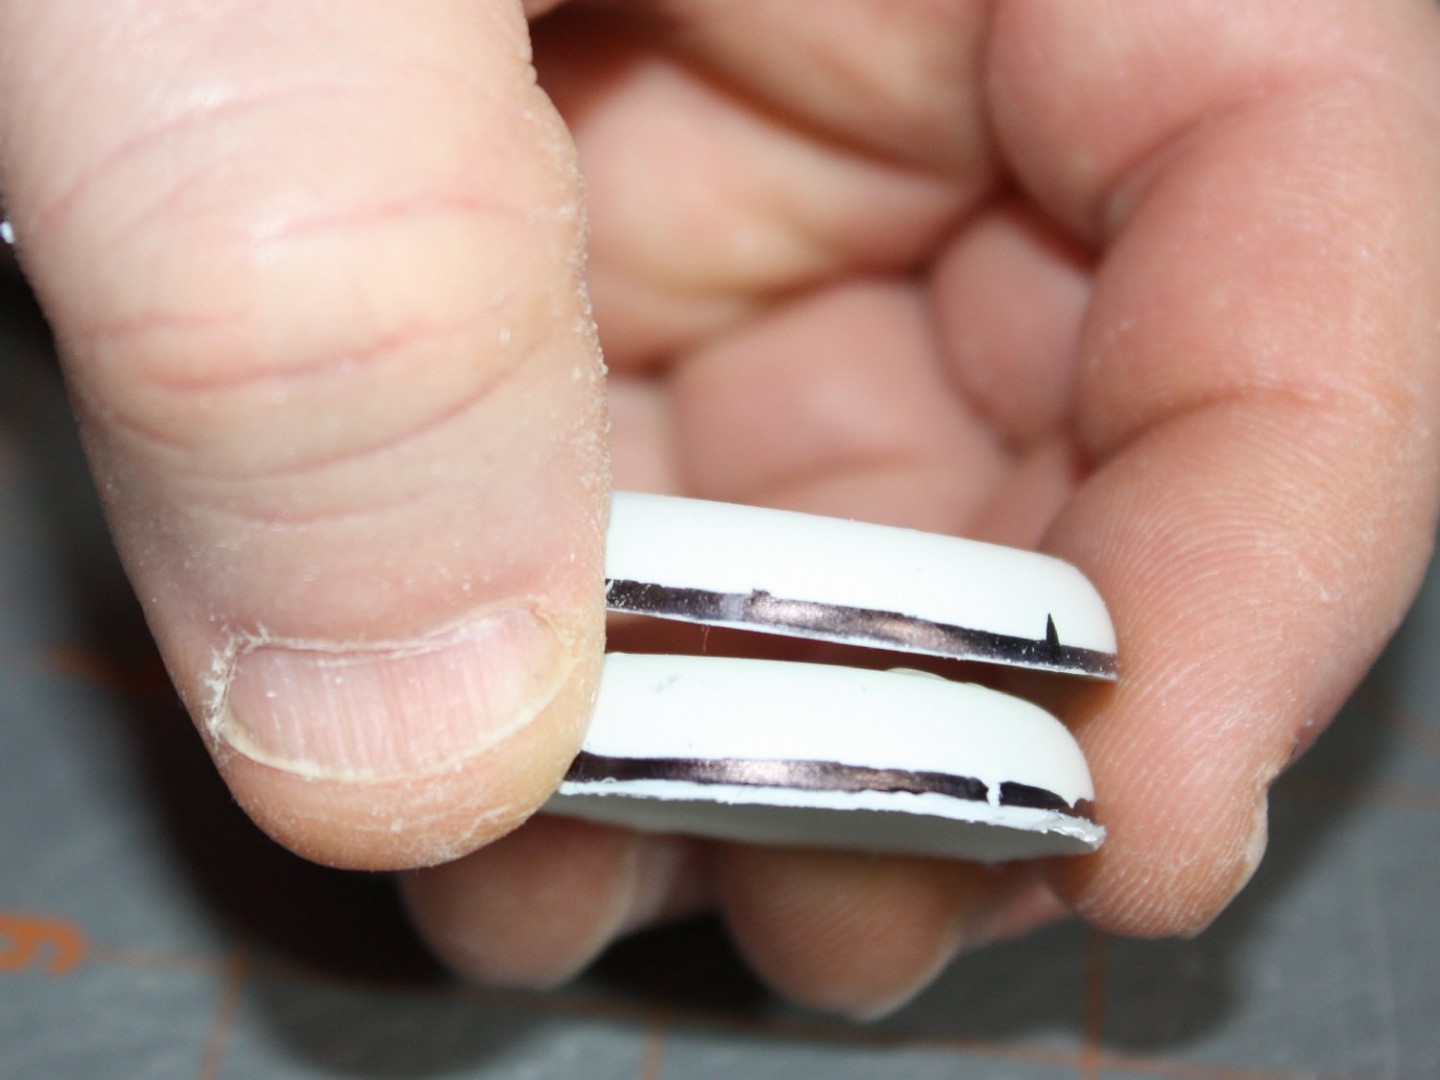
I will dry-fit the parts during sanding so I can take advantage of any opportunities to improve the fit of the parts. If there is any undesired asymmetry, ‘over sanding’ the offending part will help the problem but this is usually accomplished once the basic cleanup is done.
With very little practice, removing vac parts is quick and satisfying.
<Go to Part 3 Go to Part 5 >
Need to bring back vacuform from the abyss! Always had so much fun with these and hours of real modeling enjoyment. Used to make my own masters and resin parts for these projects which added to the enjoyment. Bob, York PA
Bob, you are absolutely right! I regret I have lapsed and failed to finish up the Mercator (and its story.) I have learned it best to work out the entire ‘article’ before starting it on the website just for this reason. Say, if you ever care to contribute any stories yourself, please feel free to email me at “secretary@hamptonroadsscalemodelers.com” and we can set you up with an account for posting anything you wish as well. Thanks for visiting and taking the time to comment! Regards, Robert